


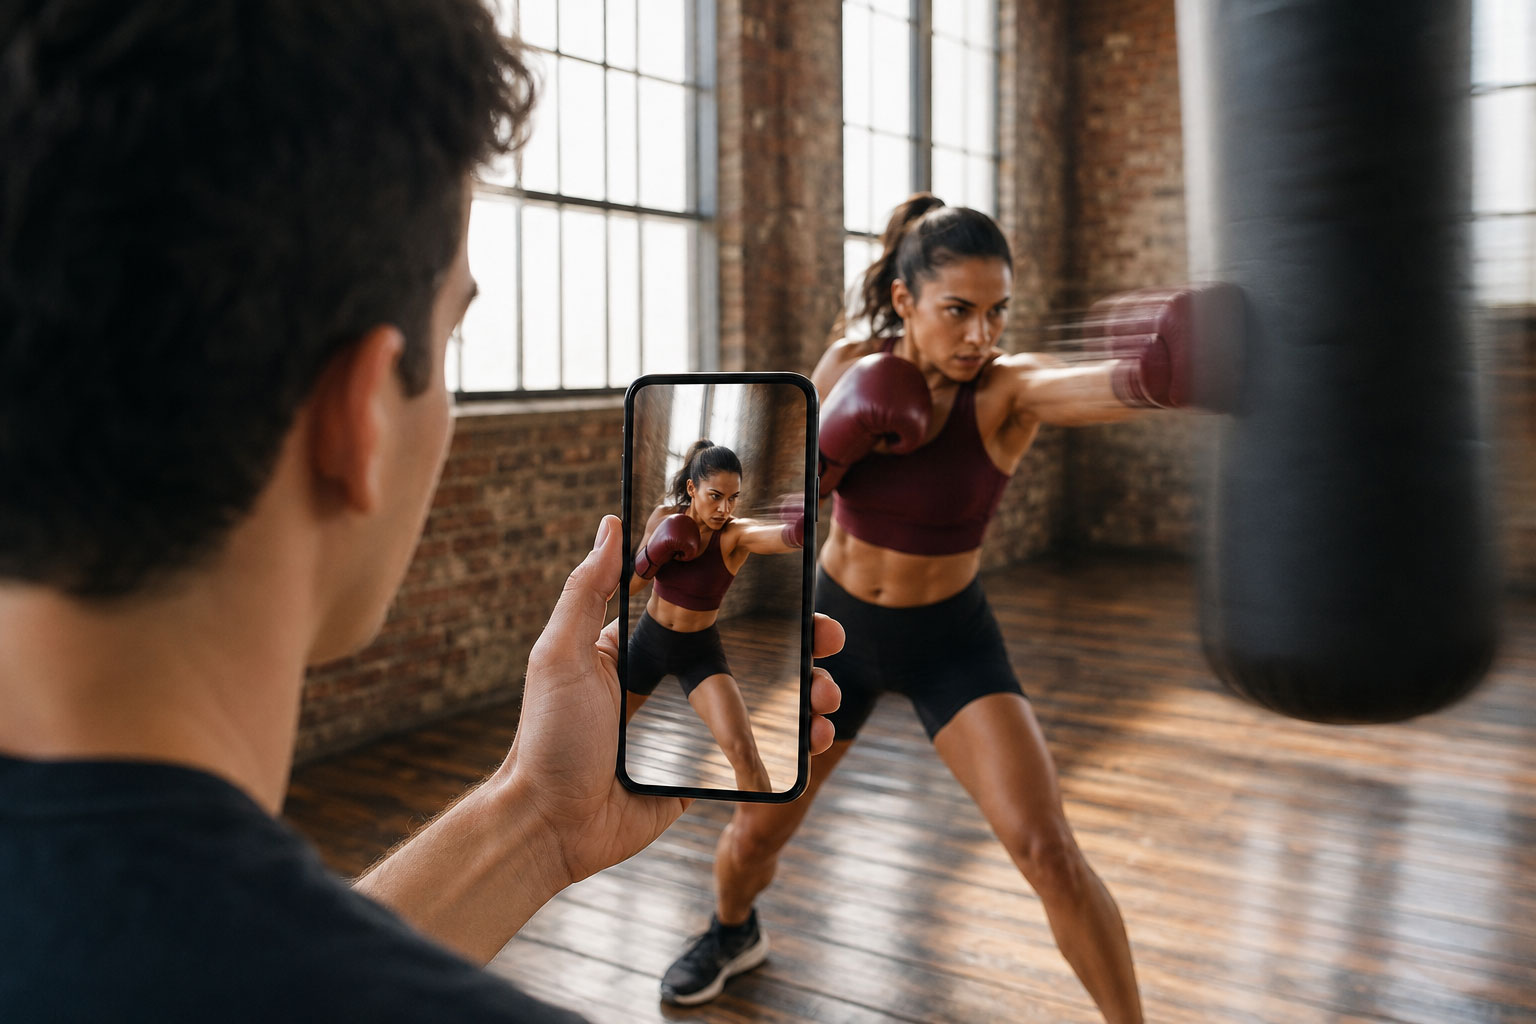

Although people often refer to it as the CapCut Shake effect, it is important to understand that CapCut does not rely on only one permanent shake preset. The application currently offers multiple shake related effects, transitions, templates, keyframe controls, zoom tools, and motion blur options, and their exact names or locations can change between CapCut versions, devices, and regions. CapCut currently maintains dedicated Camera Shake Effect templates and Shake Transition templates that provide quick starting points for energetic edits.
Once you finish the shake edit in CapCut, you can export the video and add it to Instagram Reels, where you can continue adding audio, captions, effects, text, and other elements. Instagram currently allows creators to record, import, and edit Reel clips directly inside the application, as explained in Instagram’s official Reel clip editing guide. Instagram also provides effects, speed controls, audio, and other creative tools through the Reels interface.
Definitions: What Is the CapCut Shake Effect? 🎬
A shake effect is intentionally created camera movement that makes the complete video frame appear to vibrate or move for a controlled period. Depending on the style, the movement may travel horizontally, vertically, diagonally, rotationally, or toward the viewer through a rapid zoom. Some shake effects are subtle enough to resemble a handheld camera reacting to an impact, while others deliberately create an exaggerated digital movement designed to match fast music.
The important word is intentional. Accidental handheld shake normally occurs unpredictably because the person recording the footage cannot keep the camera stable. Creative shake editing does the opposite. You begin with relatively stable footage and deliberately introduce movement at a particular frame because that moment deserves additional emphasis.
For example, imagine an Instagram fashion Reel where a creator starts in everyday clothing and changes into a complete evening outfit when the music reaches its main beat. Adding a short shake exactly when the outfit changes can make the transformation feel more powerful. The same technique can emphasize a football goal, a car starting, a product appearing, a dancer hitting a movement, or a photograph changing during a slideshow.
CapCut also provides stabilization tools for situations where the original camera movement is unwanted. Its official video stabilization guidance explains methods for reducing unwanted shake. This creates an important distinction: stabilize accidental movement first when necessary, then add deliberate shake only where the edit benefits from it.
Think of the Shake effect like punctuation in a sentence ❗. An exclamation mark can make one sentence feel important, but a page filled with exclamation marks becomes exhausting. In exactly the same way, one well timed screen shake can create a strong impact, while constant movement throughout an entire Reel can quickly become uncomfortable.
Why Is the Shake Effect Popular on Instagram Reels?
Instagram Reels combine music, movement, short clips, full screen vertical video, transitions, captions, and rapid storytelling, making rhythm extremely important. A Shake effect can visually reinforce an audio beat by giving viewers a second signal that something meaningful has happened 🎵. The ear hears the impact while the eye sees the frame react to it.
This synchronization makes Shake particularly effective for fashion transformations, dance videos, sports highlights, automotive content, fitness videos, travel montages, music performances, gaming content, before and after edits, photography Reels, product reveals, event videos, streetwear content, and energetic personal montages.
The technique can also make transitions feel more connected. When two clips contain similar movement or framing, a short camera shake around the cut can reduce the visual separation between them and make the scene change feel deliberate. This does not mean Shake should be used to hide every weak edit, but it can strengthen transitions that already have good timing and composition.
Popular CapCut Shake Styles Compared
| Shake Style | Visual Appearance | Best Instagram Reels | Typical Intensity |
|---|---|---|---|
| Camera Shake | Simulates physical handheld vibration | Sports, automotive, action, gaming | Low to medium |
| Screen Shake | Moves the complete image rapidly | Beat drops, reveals, transformations | Medium |
| Shake Transition | Creates vibration around a cut between clips | Fashion, travel, dance, music edits | Medium |
| Zoom Shake | Combines rapid scaling with vibration | Cars, sports, products, energetic edits | Medium to strong |
| Blur Shake | Combines movement and temporary motion blur | Velocity edits and fast transitions | Medium |
| Micro Shake | Creates small controlled vibration | Portraits, fashion, slower music | Low |
| Rotational Shake | Adds small angle changes while the frame moves | Gaming, sports, experimental edits | Low to medium |
| Manual Keyframe Shake | Creates fully customized movement | Precise beat synchronization | Fully adjustable |
How to Find the Shake Effect in CapCut
Open CapCut, create a new project, add your footage, and look inside the Effects or Templates areas. Search with several phrases because the exact names shown in the application may change. Useful searches include shake, camera shake, screen shake, shake transition, zoom shake, vibration, tremble, jitter, and blur shake.
CapCut currently provides dedicated Camera Shake Transition templates, which confirms that shake based transitions remain part of its current template ecosystem. Templates provide a fast workflow, while manually placing an effect on the timeline gives you more control over exactly when the movement begins and ends.
How to Do the CapCut Shake Effect for Instagram Reels Step by Step
- Open CapCut and create a new project.
- Import the video clips or photographs you want to use.
- Choose a vertical canvas suitable for Instagram Reels.
- Arrange the clips in the correct storytelling order.
- Add the audio you intend to edit around when appropriate.
- Listen carefully and identify the strongest musical beats.
- Trim the clips so important scene changes occur near those beats.
- Open Effects and search for Shake or Camera Shake.
- Preview several variations.
- Apply the selected Shake effect to the timeline.
- Shorten the effect so it covers only the intended moment.
- Adjust its intensity when the selected effect provides that control.
- Add a small zoom or motion blur when more impact is necessary.
- Repeat the technique only at selected important moments.
- Preview the complete video from the beginning rather than reviewing only the transition.
- Export the finished video.
- Open Instagram and create a new Reel.
- Add the exported CapCut video from your camera roll.
- Add Instagram audio, captions, text, or final creative elements.
- Review the finished Reel before publishing.
How to Synchronize the Shake Effect with Music 🎵
Timing is more important than the strength of the Shake effect. A relatively simple Camera Shake positioned exactly on a strong beat can feel much more professional than an elaborate transition that arrives slightly too early or too late. Listen to the audio repeatedly and identify clear kick drums, snare hits, bass impacts, drops, vocal entrances, or sudden changes in the musical arrangement.
The strongest visible movement should normally happen extremely close to the musical impact. If the effect begins well after the beat, viewers often feel that something is wrong even when they cannot explain why. Human perception is highly sensitive to synchronization between sound and motion.
Do not shake every beat. Smaller beats can use simple cuts, scale changes, or no visual effect at all, while the largest beat receives the strongest Shake. This creates a hierarchy inside the edit and prevents visual fatigue.
How to Create a Shake Transition Between Two Clips
A Shake transition is particularly useful when changing from one shot to another. Place two related clips next to each other and position their cut on a musical beat. Apply a short Shake Transition around that cut so both clips participate in the movement.
Matching movement improves the illusion. If the first clip moves toward the right, choose a second shot that contains similar motion or continue the direction through the transition. Randomly changing direction can still work for deliberately chaotic edits, but smooth visual continuity usually feels more polished.
CapCut’s current Shake Transition template library provides examples of this editing style and can be useful when you want a ready made structure.
How to Create a Zoom Shake Effect 🔍
Zoom Shake combines rapid scaling with vibration. Instead of only moving left and right, the frame also appears to rush toward or away from the viewer. This increases perceived impact and works particularly well for sports, automobiles, product reveals, fashion changes, dance, and energetic music.
Begin with footage that contains extra framing space around the subject. If the face or product already fills the entire screen, additional zoom may crop important details. Leave more room during recording whenever you know that strong movement will be introduced later.
Apply the zoom quickly around the beat, add a short Shake, then stabilize the framing immediately afterward. The viewer needs a stable image following the impact so they can understand the next scene.
How to Create a Shake Manually with CapCut Keyframes
Ready made effects save time, but keyframes offer much more precise control. CapCut’s official keyframe guide documents its current keyframe workflow. By placing several keyframes close together and changing position, scale, and rotation between them, you can build your own Shake without depending on a preset.
Manual Keyframe Shake Workflow
Place the playhead slightly before the musical beat and add a keyframe while the clip remains centered. Move a few frames forward and shift the clip slightly left while enlarging it by a small amount. Add another keyframe, move forward again, shift the frame slightly right, and optionally introduce a very small rotation. Continue alternating directions for a short period, then create a final keyframe that returns the image to its normal centered position.
The movement can remain surprisingly small. Rapid changes between several nearby positions often create a convincing shake on a phone screen without moving the subject completely out of frame. Increase the scale of the underlying clip slightly if empty canvas edges appear during the animation.
How to Use Motion Blur with the Shake Effect
Fast digitally animated movement can appear unnaturally sharp because every frame remains perfectly detailed despite rapid motion. Real camera movement usually creates some degree of blur, which is why restrained motion blur can make a manually created Shake look smoother and more physical.
CapCut currently provides a dedicated Motion Blur tool and describes it as a way to create smoother movement and enhance transitions or action scenes. Apply the strongest blur only during the fastest part of the movement, then return quickly to a sharp image.
Too much motion blur can make faces, products, captions, vehicles, or photographs difficult to see. The purpose is to support the movement rather than hide the content.
How to Create a Photo Shake Reel 📸
Shake editing works extremely well with still photographs because the motion can transform a simple slideshow into something that feels synchronized with music. Import several photographs into CapCut, adjust their duration according to the audio, and place each important photo change on a beat.
Add a small Shake or Zoom Shake around selected changes rather than applying identical movement to every image. For example, use ordinary cuts during the opening beats, add a moderate shake halfway through, and reserve the largest Zoom Shake for the main musical drop.
High resolution photographs usually perform better because cropping and scaling can reduce the visible quality of smaller images. Keep faces and other important subjects away from the extreme edges when possible.
How to Create a Velocity Shake Reel
Velocity editing combines speed changes with visual movement. A clip may slow down immediately before a beat and accelerate sharply when the beat arrives, while a Shake effect reinforces the same moment. This combination can create strong energy because time, movement, and sound all change together.
Velocity Shake works especially well for sports, dance, automotive, fitness, fashion, travel, and music edits. However, combining speed ramps, zoom, Shake, flash, blur, and transitions at every moment can overwhelm the viewer. Choose which effects carry the most important parts of the edit.
How to Use CapCut Shake Templates
Templates provide the fastest route for creators who want an established Shake style without manually building the timing. Open CapCut’s Templates area when it is available in your version and search for Camera Shake, Shake Edit, Screen Shake, Shake Transition, or Zoom Shake. Preview each option and check how many photographs or clips the template requires before choosing it.
Replace the demonstration content with your own media and adjust editable text or other available elements. Templates are most effective when the source media naturally matches the movement and rhythm. Choosing a template only because it looks dramatic can produce weak results when your footage has a completely different pace.
How Strong Should the Shake Effect Be?
The correct intensity depends on the music, subject, and intended emotion. A football goal, car acceleration, gaming impact, or energetic beat drop can support stronger movement, while fashion, portraits, lifestyle content, and slower music may look better with a Micro Shake.
A useful test is to watch the Reel briefly without sound. If the movement is so aggressive that you cannot understand the subject, reduce it. Then turn the sound back on and determine whether the lower intensity still communicates enough impact. In many cases, the music makes a restrained effect feel stronger than expected.
How Long Should a Shake Effect Last?
Most Shake effects work best as brief bursts rather than continuous motion. The movement should generally start near the important moment, reach its maximum quickly, and return to stability so viewers can understand the next scene.
A long Shake can feel like accidental unstable footage. Several short, carefully positioned shakes usually create a stronger edit because stable sections provide visual contrast between the impacts.
How to Combine Shake with Flash Effects ⚡
A short brightness pulse can reinforce a Shake because the viewer experiences a simultaneous movement and light change. This works especially well during fashion transformations, dramatic reveals, music drops, or sports impacts.
Keep flashing restrained. Repeated intense flashes can be visually uncomfortable, and rapid flashing may be problematic for viewers with photosensitivity. A brief, modest brightness pulse is often enough to create the desired emphasis without turning the Reel into a strobe sequence.
How to Combine Shake with Blur
Blur can smooth the transition between rapidly moving frames. Apply it temporarily during the strongest movement and allow the next scene to become sharp almost immediately. Directional blur can work particularly well when the frame moves strongly in one direction.
Do not leave the entire Reel blurred simply because the transitions contain rapid motion. Sharp stable footage between effects gives the eye an opportunity to rest and makes the next burst of movement feel stronger.
How to Combine Shake with Zoom
Shake and zoom complement one another because they both communicate sudden energy. Start near normal scale, enlarge the clip quickly during the beat, combine it with short vibration, and then either return to a stable composition or cut into the next shot.
Aggressive zooming can magnify compression and softness, especially with low resolution footage. Use clean source media and avoid repeatedly enlarging a clip far beyond its original framing.
How to Export the CapCut Video for Instagram Reels
Review the complete project before export and make sure the important subject remains within the vertical frame throughout every Shake. Fast motion can easily move faces, captions, products, or important details too close to the edges.
After export, import the finished file into Instagram Reels instead of repeatedly exporting the same project through several applications. Repeated compression can reduce fine detail and make motion, gradients, text, and dark areas look rougher.
Instagram’s current Reel workflow allows creators to add imported clips and continue editing them inside the application. Instagram’s official Reel recording and editing guide documents current creation tools including effects, music, and video editing options.
CapCut Shake Effect Workflow Diagram
Choose the Audio
        ↓
Identify Important Beats
        ↓
Import Clips or Photos into CapCut
        ↓
Arrange and Trim the Timeline
        ↓
Place Cuts on Selected Beats
        ↓
Choose Shake Effect, Transition, or Template
        ↓
Adjust Duration and Intensity
        ↓
Add Zoom or Motion Blur if Needed
        ↓
Check Subject Framing
        ↓
Preview the Complete Edit
        ↓
Reduce Excessive Movement
        ↓
Export the Finished Video
        ↓
Import into Instagram Reels
        ↓
Add Audio, Captions, and Final Details
        ↓
Publish
Practical CapCut Shake Instagram Reels Examples
Example One: Fashion Transformation 👗
Record one clip wearing the original outfit and another wearing the finished look. Place the scene change on the strongest musical beat, add a short Shake Transition, and combine it with a modest zoom. Allow the second shot to stabilize quickly so viewers can clearly see the new outfit.
Example Two: Football Highlight ⚽
Keep the initial action relatively stable, slow the footage slightly before the shot or goal, then add a short Camera Shake at the moment of impact. Allow the final celebration to remain clearer so the sporting moment is understandable.
Example Three: Automotive Reel 🚗
Record the front of the vehicle, wheels, headlights, interior, steering wheel, engine details, and moving shots. Cut between details on the beat and use short Zoom Shake transitions on the strongest sections of music. Keep the real vehicle visible instead of covering it with movement continuously.
Example Four: Photo Reel 📸
Import portraits, travel photographs, fashion images, or memories and place the image changes according to the rhythm. Use subtle Shake for ordinary cuts and a stronger Zoom Shake for the main beat drop. High resolution images help maintain quality during scaling.
Example Five: Product Reveal 📦
Begin with the packaging, hand movement, or a partial view of the product. Place the main reveal on a beat and add a short Shake followed by a stable close shot. Viewers should immediately receive enough time to examine the product after the transition.
Example Six: Dance Reel 💃
Use the dancer’s strongest movement as the visual trigger. Apply a Micro Shake or short Camera Shake exactly when the movement reaches its peak rather than keeping the frame vibrating during the entire choreography.
An Illustrative Personal Editing Experience
Illustrative first person example: “When I created my first Shake Reel, I added the strongest camera shake to nearly every beat because I assumed constant movement would make the video feel more exciting. Instead, the screen never stayed stable long enough to show the clothes, face, or environment clearly. I edited the project again, kept most clips stable, added small shakes to two secondary beats, and reserved one stronger Zoom Shake for the main drop. The second version felt much more energetic even though it used far less movement.”
This example illustrates the central rule of Shake editing: movement becomes powerful because stability surrounds it. When the entire Reel moves continuously, viewers quickly become accustomed to the vibration and each individual Shake loses its impact.
How the Shake Effect Creates Emotional Impact 🔥
A sudden visual jolt can make an important moment feel more physical. When the frame reacts at the same instant as a bass hit, transformation, goal, car acceleration, dance move, or product reveal, the viewer receives matching visual and audio signals that something significant has happened.
The effect works a little like percussion in music. A drum hit becomes powerful because quieter material surrounds it. Shake editing follows the same principle. Stable footage creates the baseline, while sudden controlled motion becomes the visual equivalent of a beat.
The subject still needs to be interesting without the effect. Shake cannot replace a strong outfit transformation, sports moment, product, photograph, dance performance, journey, or story. Editing should amplify an existing moment rather than manufacture excitement where nothing meaningful occurs.
Common CapCut Shake Effect Mistakes
Using Shake Throughout the Entire Reel
Continuous vibration quickly creates visual fatigue. Keep most of the project stable and reserve movement for selected moments.
Missing the Musical Beat
A strong Shake feels disconnected when it arrives noticeably before or after the audio impact. Align the maximum movement with the beat.
Using Maximum Intensity
Extreme movement can crop faces, products, text, clothing, or vehicles. Begin with smaller movement and increase it only when necessary.
Making Every Beat Identical
Create hierarchy. Use cuts or Micro Shake on smaller beats and stronger movement on the most important one.
Forgetting Motion Blur
Fast keyframe animation can look unnaturally sharp. Restrained motion blur can make selected movement smoother.
Using Too Much Blur
The image should return to clarity quickly after the Shake. Long blur makes the footage look out of focus.
Combining Accidental Shake with Digital Shake
Very unstable original footage plus a strong Shake effect can become chaotic. Stabilize unwanted movement first when necessary.
Zooming Too Far
Aggressive scaling can crop the subject and reduce apparent resolution. Leave framing space and use zoom carefully.
Shaking Important Captions
Informational text should remain readable. Avoid applying aggressive movement to captions that viewers need to understand.
Choosing a Trend Instead of the Right Effect
Not every Reel needs a strong Shake. Slower emotional, professional, or elegant content may benefit from very subtle movement or none at all.
People Also Asked
Does CapCut have a built in Shake effect?
CapCut currently provides shake related effects, transitions, and templates, including Camera Shake and Shake Transition resources, although exact names can vary between versions and regions.
Can I use a CapCut Shake video on Instagram Reels?
Yes. Create and export the finished video in CapCut, then import it into Instagram Reels and add your final audio, captions, text, and other Instagram elements.
Can I create Shake without using a template?
Yes. Use closely spaced keyframes to change position, scale, and rotation rapidly, then return the image to a stable centered position.
Why does my Shake effect look too aggressive?
The movement may be too large, too long, or too frequent. Reduce intensity and duration and add more stable footage between Shake moments.
Should I use motion blur with a Shake effect?
Motion blur can make fast movement look smoother, particularly with manually animated keyframes, but use it briefly so the next frame becomes clear immediately.
Can I stabilize footage before creating a Shake edit?
Yes. Removing unwanted handheld movement first can create a cleaner foundation before you add intentional Shake at specific moments.
Frequently Asked Questions
1. What should I search for in CapCut?
Search for Shake, Camera Shake, Screen Shake, Shake Transition, Zoom Shake, Tremble, Vibration, Jitter, and Blur Shake.
2. Is the CapCut Shake effect always free?
Availability can vary by effect, template, account, region, and CapCut version, so check the access information displayed inside your current application.
3. How long should a Shake effect last?
Keep it brief enough to emphasize the intended beat and return quickly to a stable frame. The ideal duration depends on the music and editing style.
4. Can I use Shake on photographs?
Yes. Photo Shake edits are popular because zoom, movement, and beat synchronized transitions can make static photographs feel much more dynamic.
5. Can I manually create Shake with keyframes?
Yes. Alternate position, scale, and small rotation changes across several nearby keyframes and finish by returning the frame to its normal position.
6. Why do empty edges appear during my Shake?
The video may be moving beyond the canvas. Increase the clip scale slightly before animating it so there is additional image area around the frame.
7. Should every beat contain a Shake?
No. Saving stronger movement for important beats usually creates better rhythm and prevents the effect from becoming repetitive.
8. Is Shake suitable for velocity edits?
Yes. A short Shake can work particularly well immediately after a speed ramp or musical impact when the movement remains precisely synchronized.
9. Can I edit the exported CapCut video again in Instagram?
Yes. Instagram currently allows imported Reel clips to be edited further and combined with audio, effects, captions, text, and other creative elements.
10. How do I make a CapCut Shake Reel look professional?
Synchronize movement precisely with audio, keep most footage stable, vary intensity, use motion blur carefully, preserve important framing, and reserve the strongest Shake for the most important moment.
Conclusion
Creating the CapCut Shake effect on Instagram Reels involves much more than placing a vibration preset across an entire video. A convincing Shake edit depends on precise beat timing, short controlled movement, suitable effect intensity, strong source footage, deliberate transitions, thoughtful zoom, restrained motion blur, and enough stable time for viewers to understand the person, product, action, or story ⚡🎬.
CapCut currently provides several practical ways to build the effect, including Camera Shake templates, Shake Transitions, ready made video effects, manual keyframes, motion blur, and stabilization tools. Templates provide the fastest solution, while manual keyframes allow much more control over direction, timing, scale, rotation, and intensity.
Instagram Reels then provides the publishing environment where the finished CapCut edit can be combined with music, captions, text, and other creative elements. Instagram’s current tools also allow creators to edit imported Reel clips and add effects directly inside the application, which means CapCut and Instagram can function as complementary parts of the same workflow.
The most important principle is contrast between stability and movement. Keep most of the footage clear and readable, use smaller motion for secondary beats, and reserve the strongest Shake for transformations, impacts, goals, reveals, music drops, or other moments that genuinely deserve emphasis. When viewers feel the rhythm and impact without becoming distracted by the movement itself, the Shake effect has achieved its real purpose 💫.